Metal Tape Dispenser
- While being apart of Fabrication and Design Essentionals (FADE) at UCLA, I was able to create a metal tape dispenser.
- Objective:: The objective for this project was to create a tape dispenser by using a variety of manufacturing techniques.
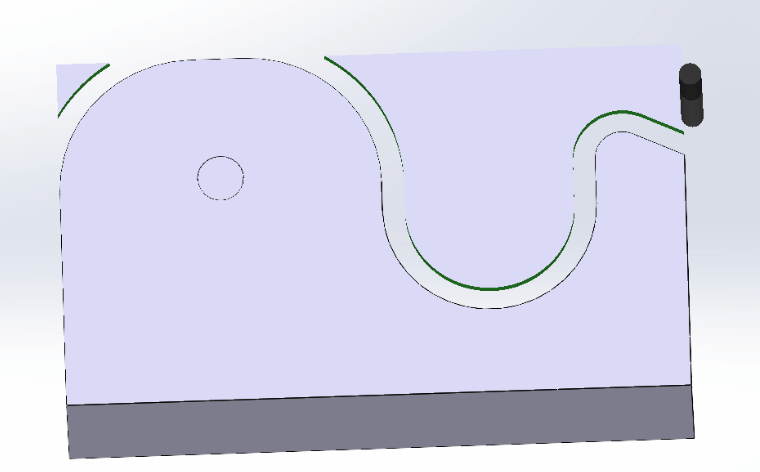
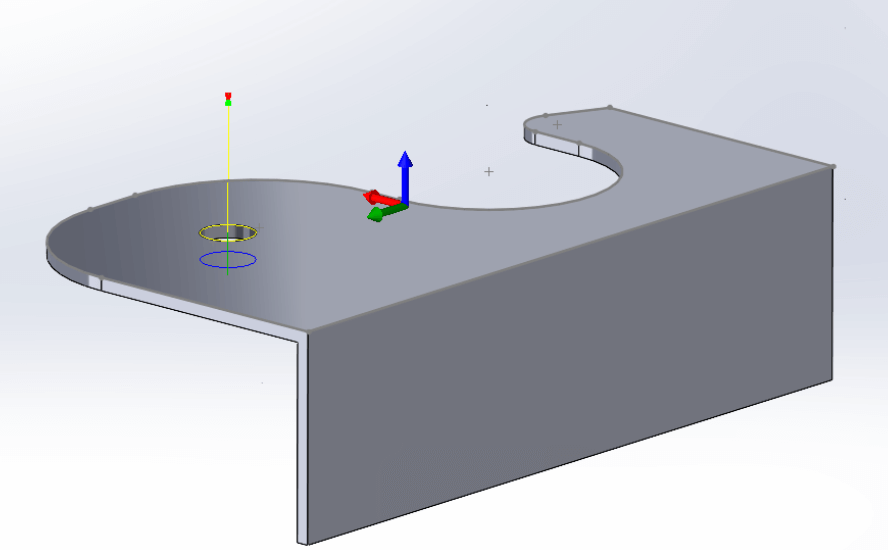
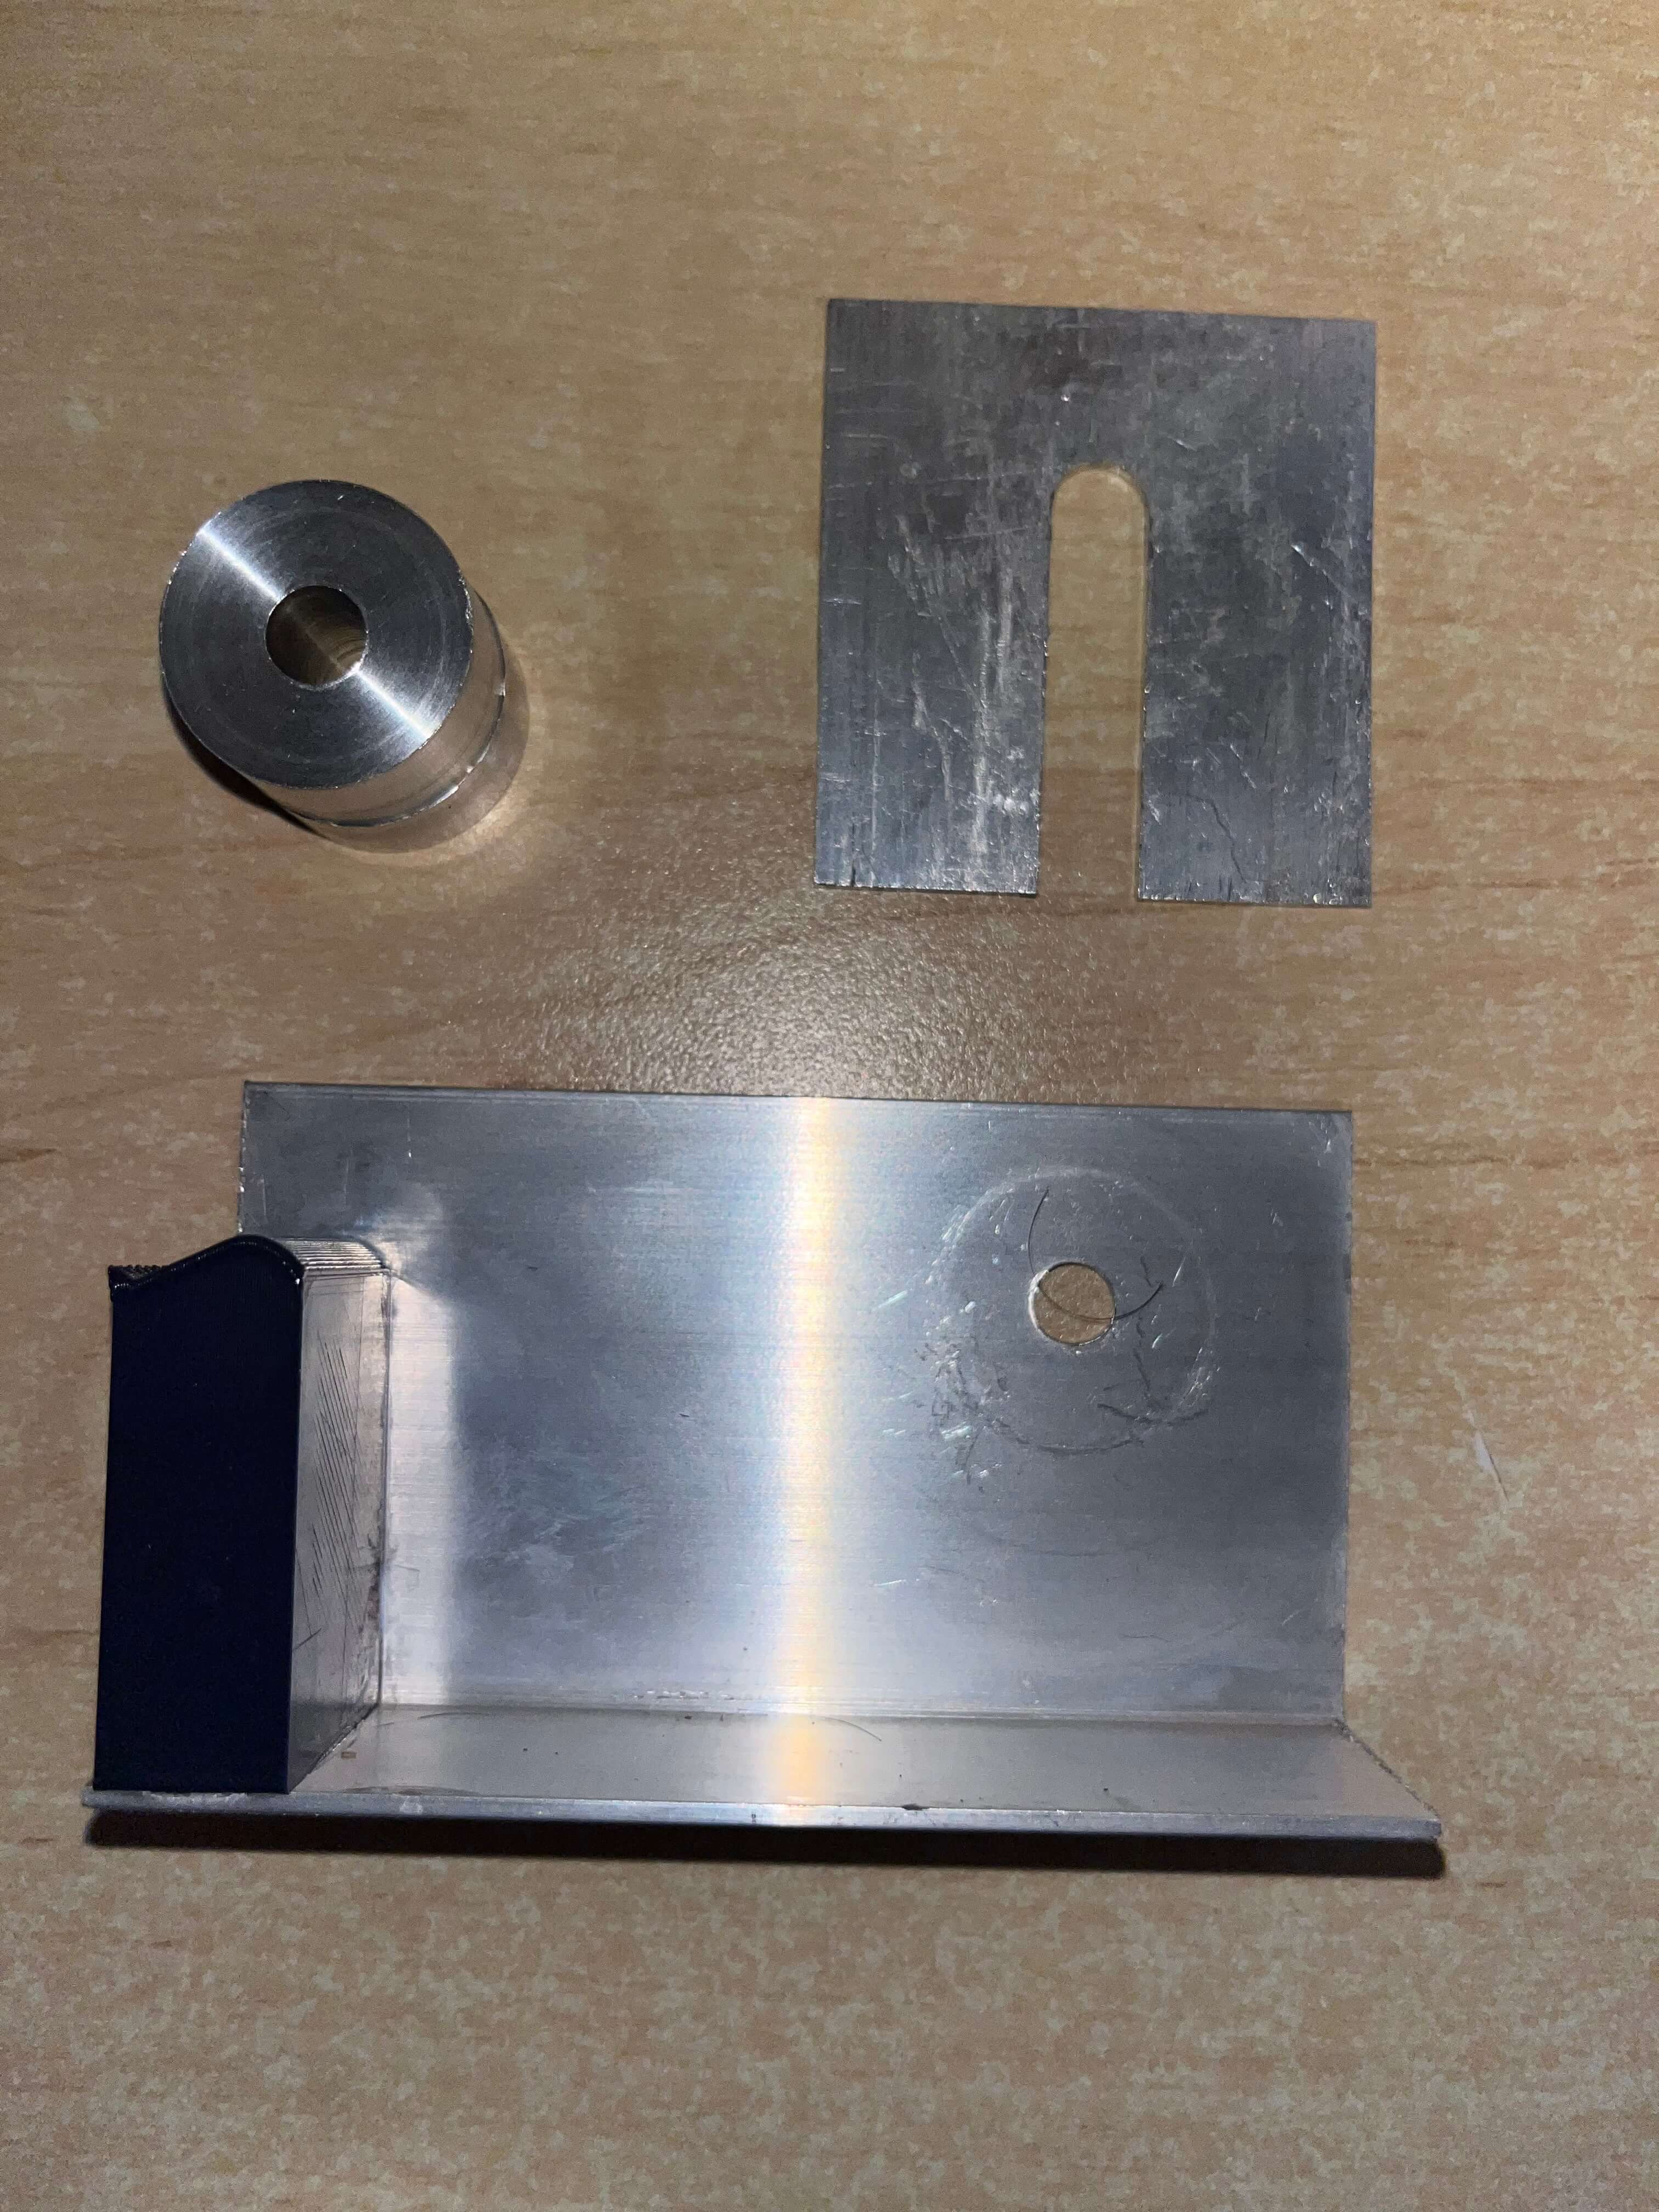
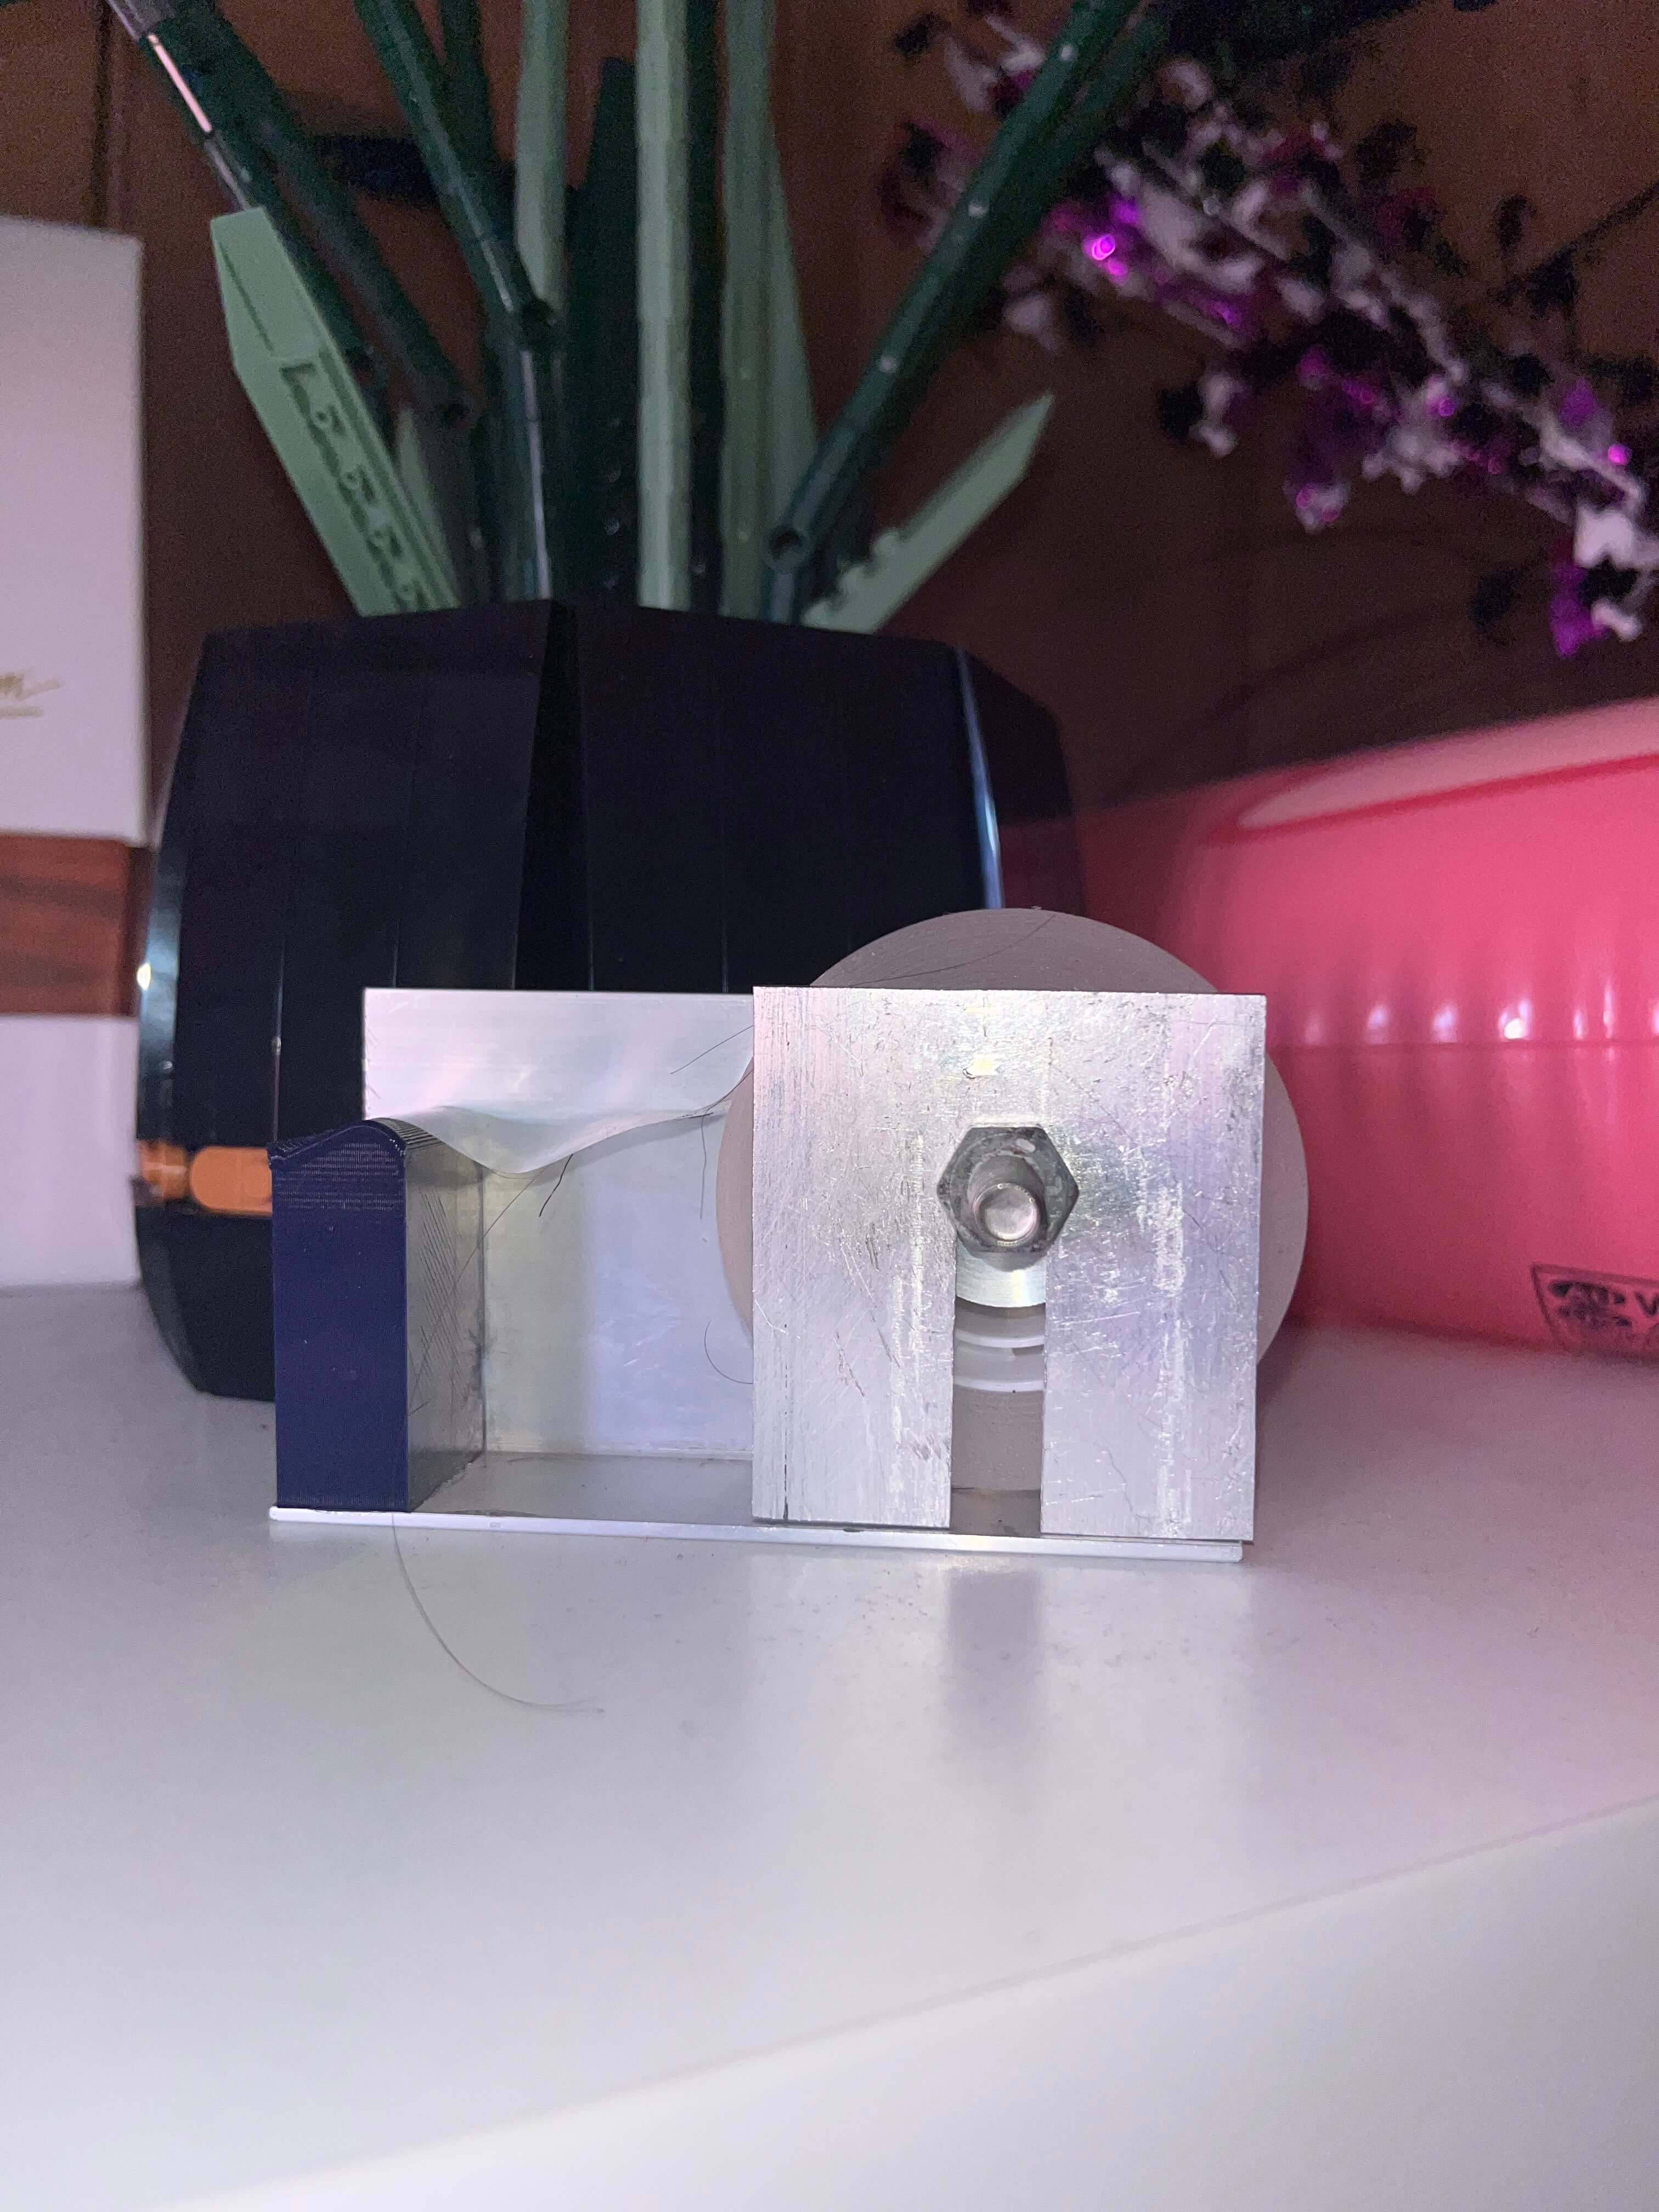
- Design: The tape dispenser is made out of 4 main components: the tape cutter, the brace bracket, the retention plate, and the tape axle. The tape cutter will be manufactured with a 3D printer. The brace bracket will be created with a mill. The retention plate will be made with a CNC machine. Finally, the tap axle will be creates using a lathe.
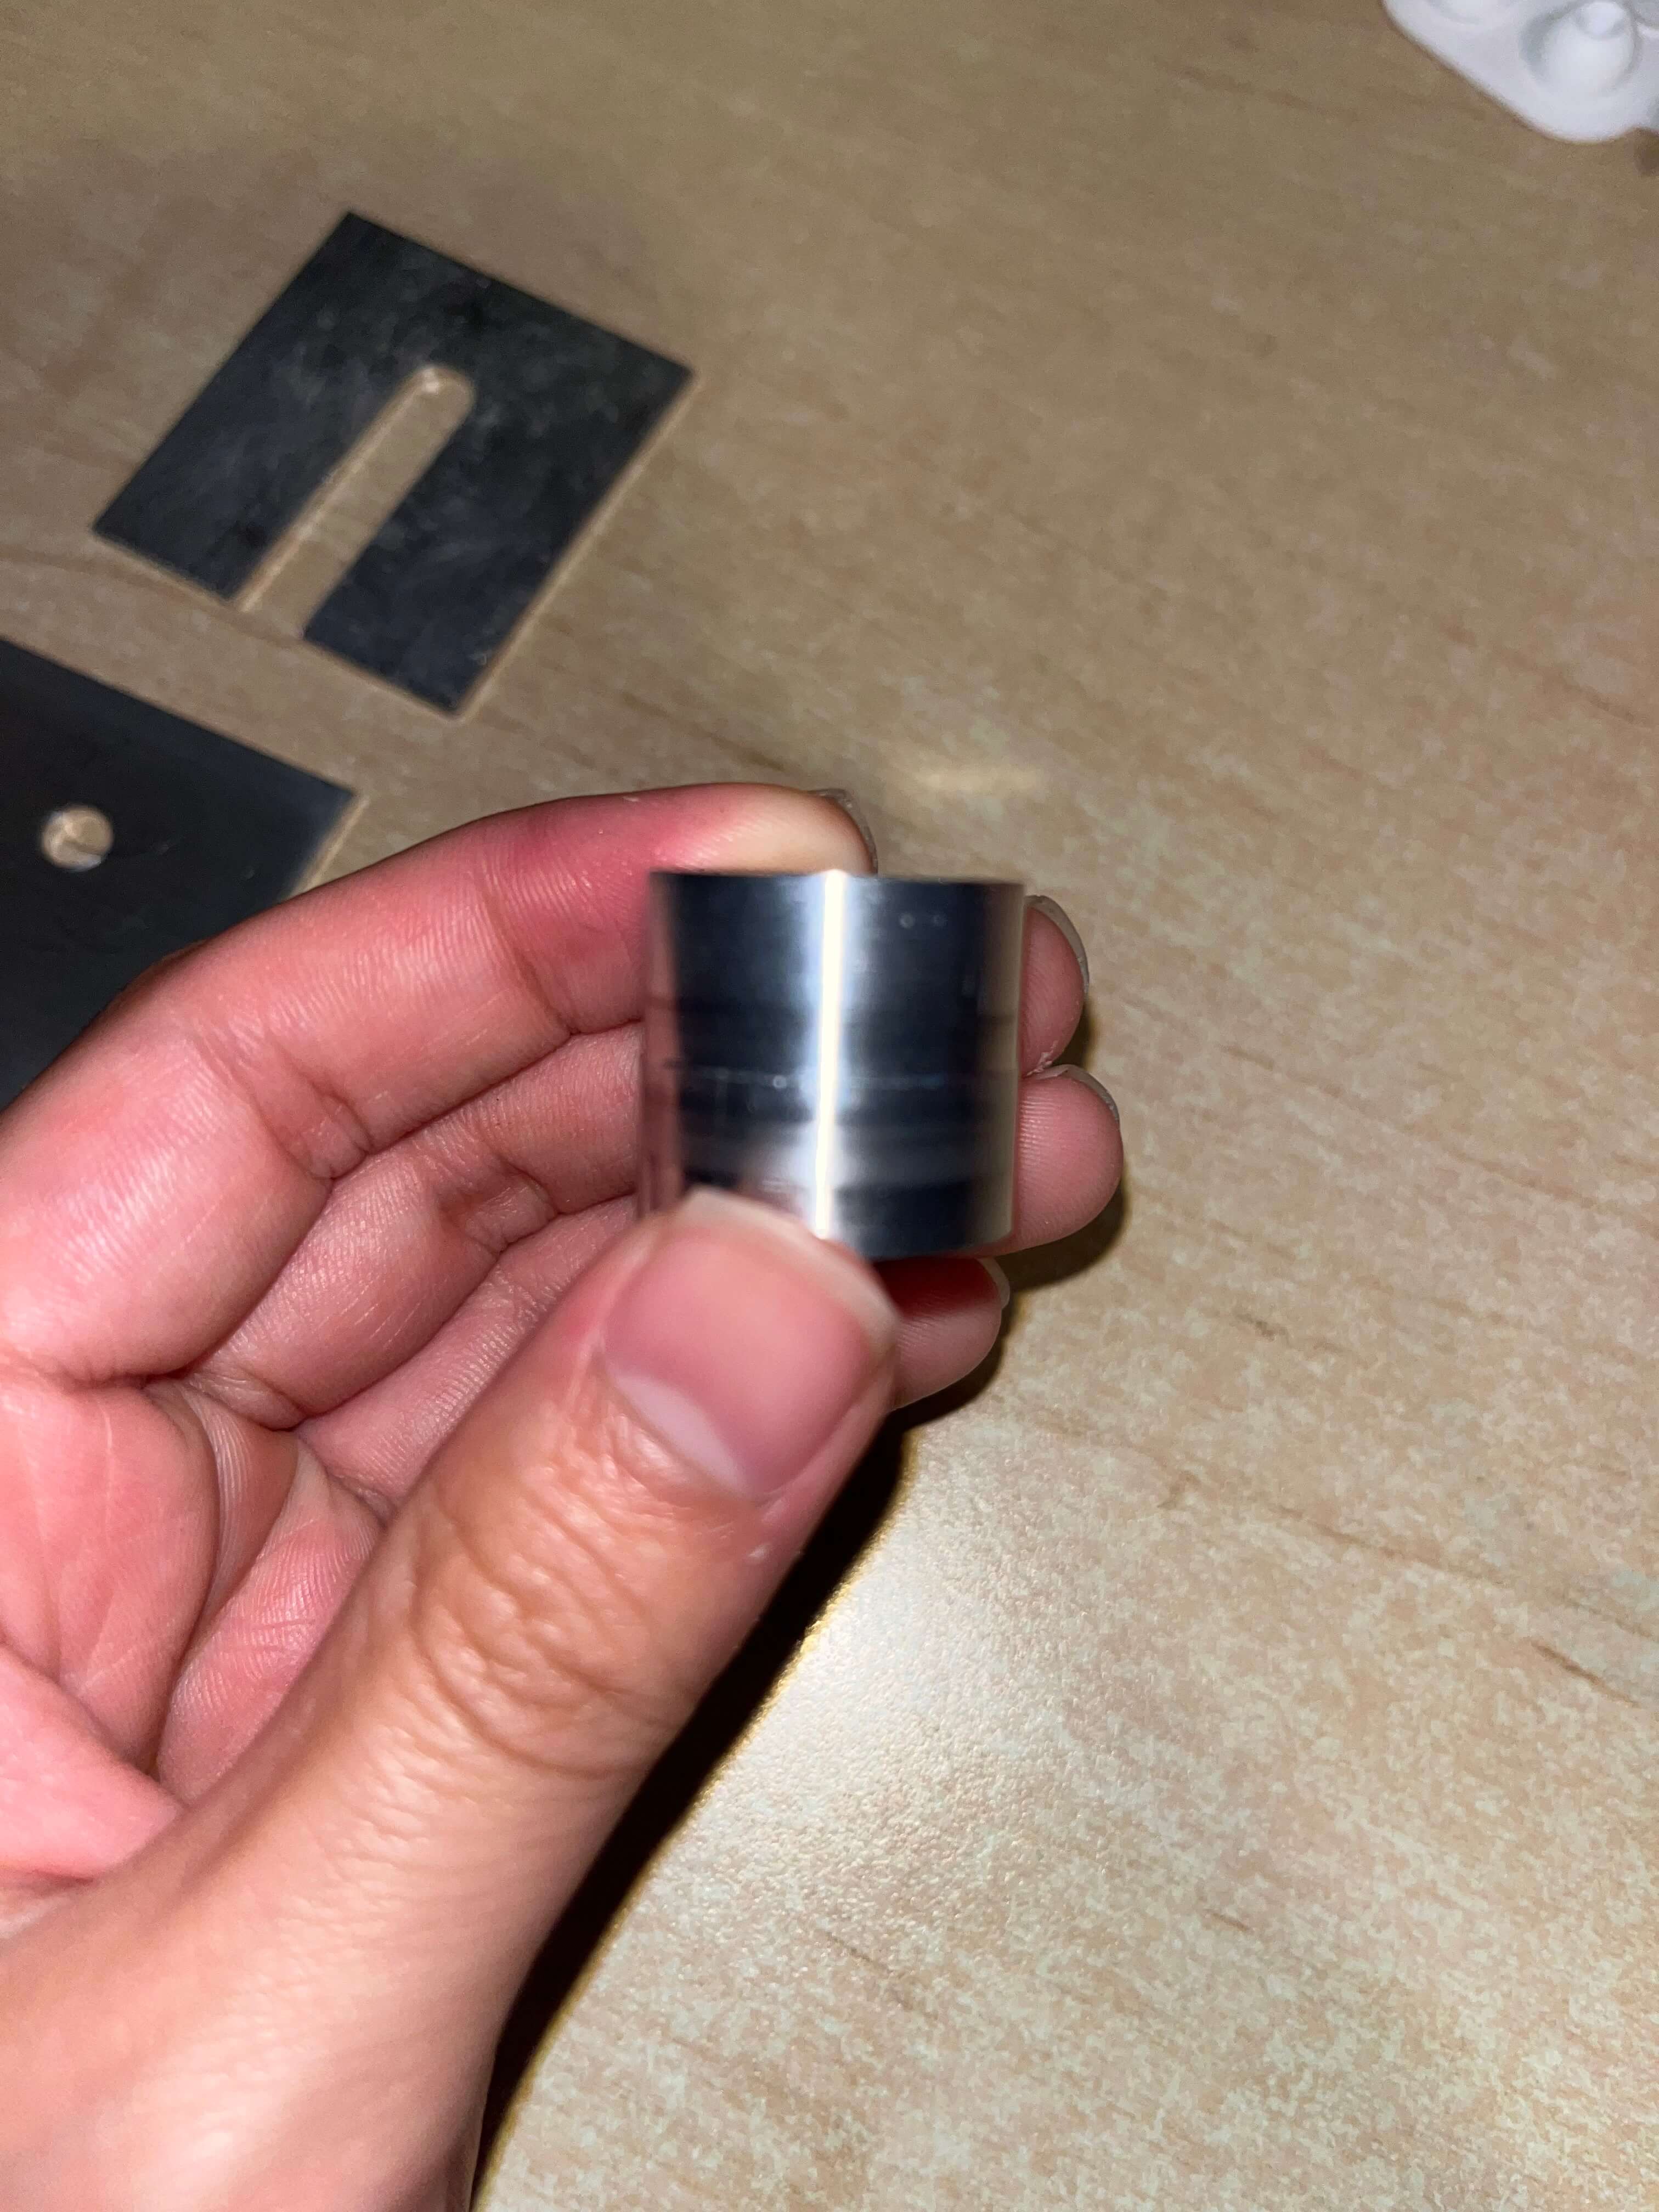
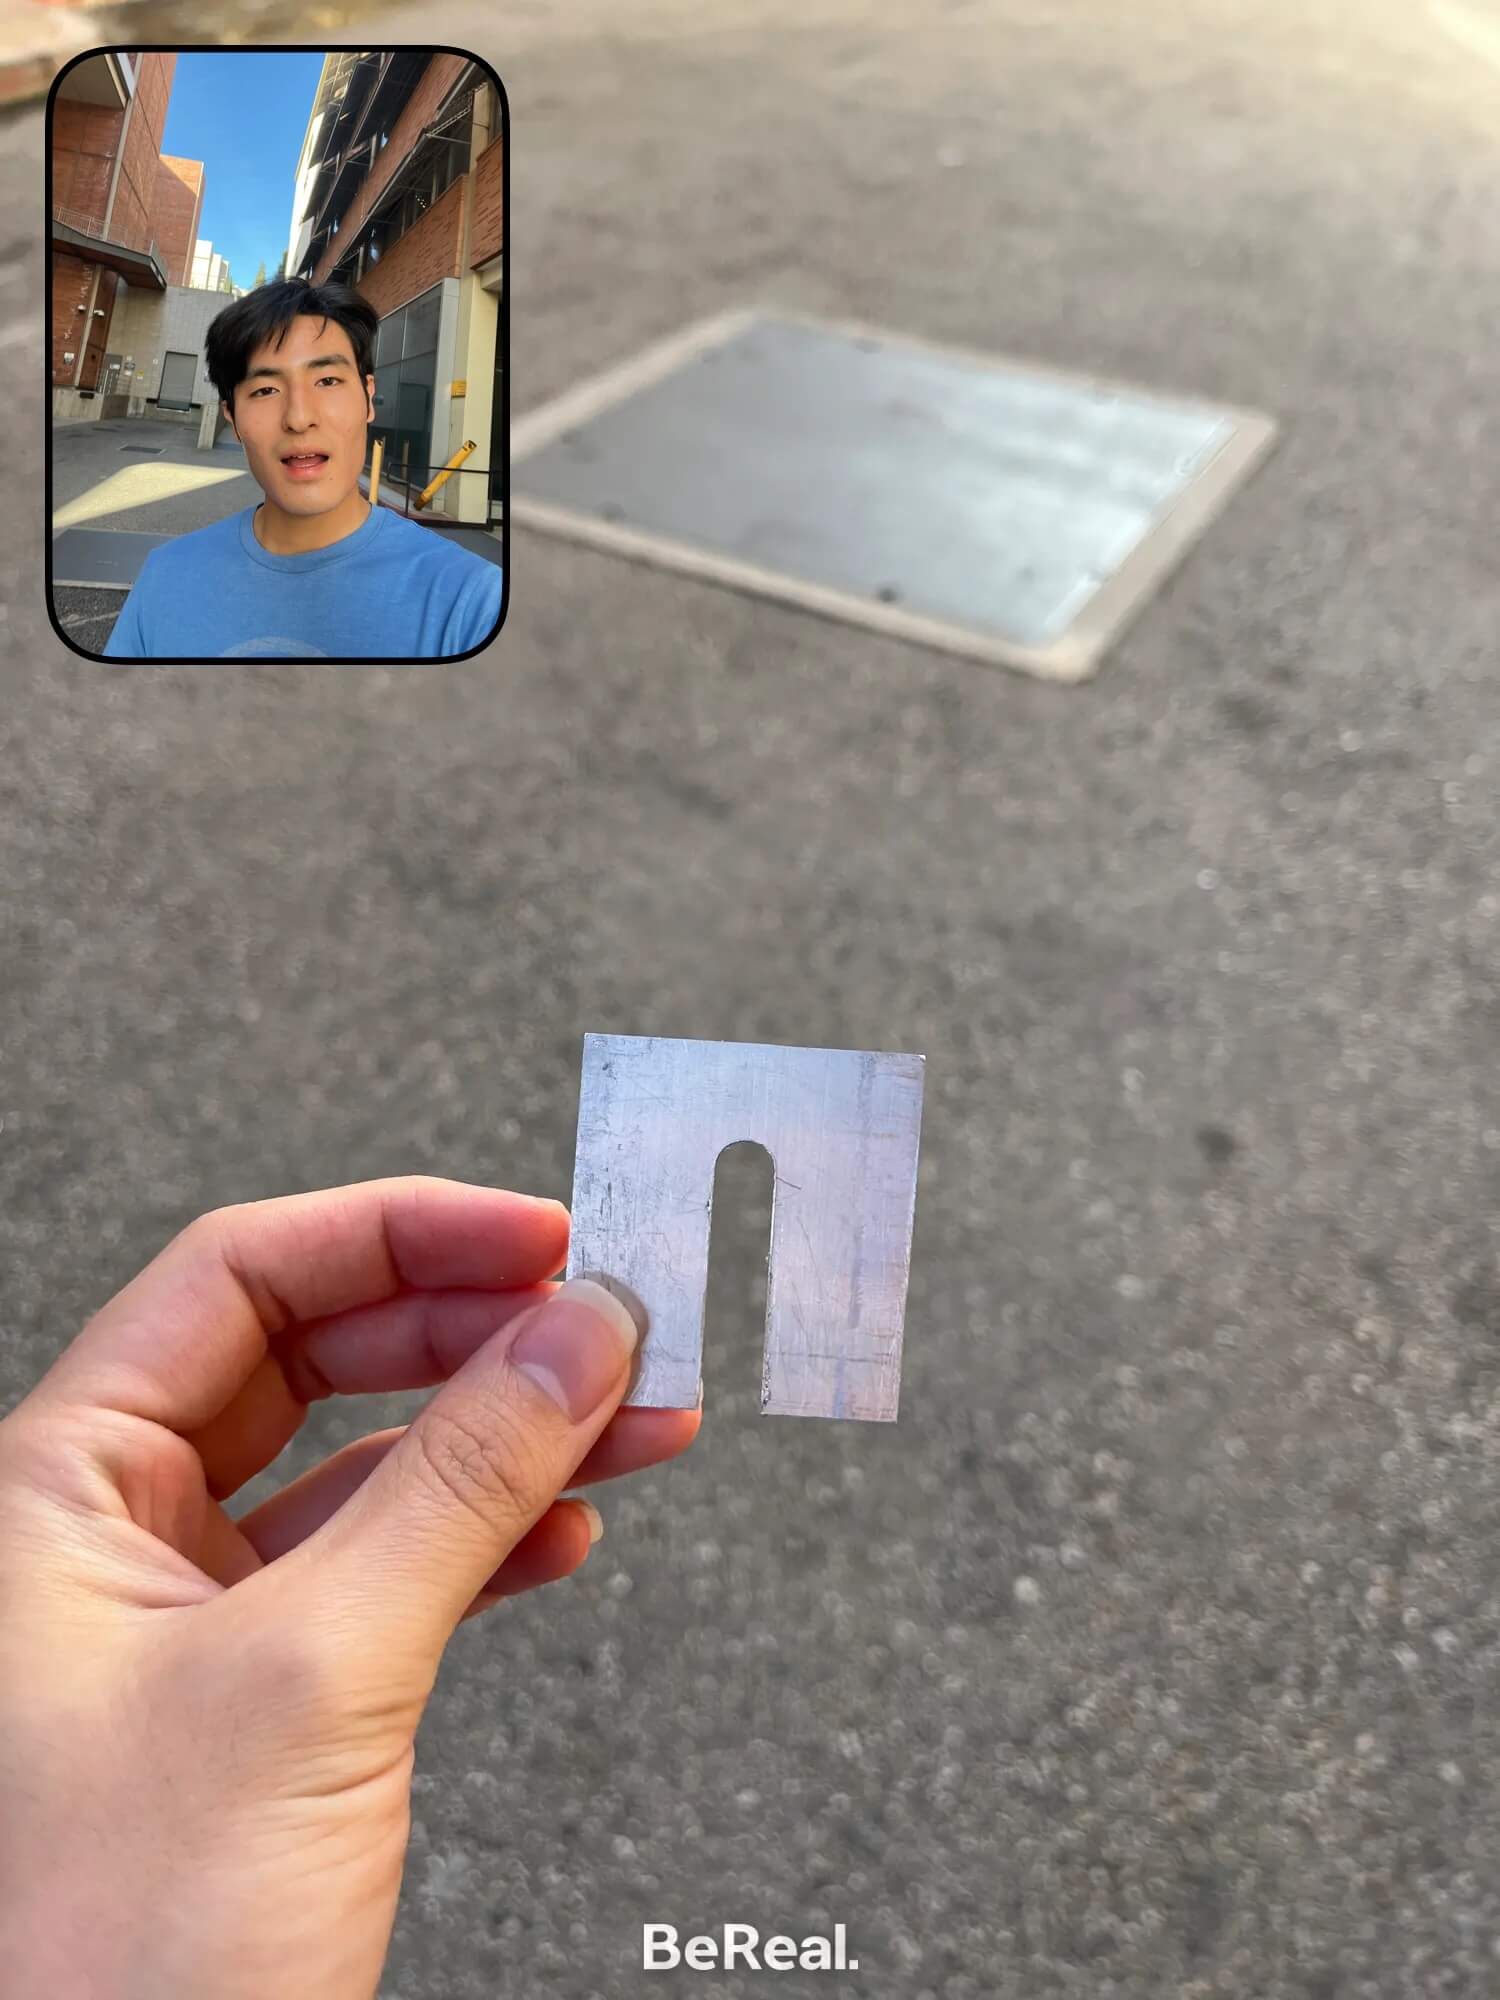
- Manufacturing: Creating the tape cutter was by far the easiest part of this project. All I had to do was create a CAD in SolidWorks, export the CAD as a STL file, then turn it into Gcode for the 3D printer. Milling the bracket on the other hand was much more time consuming. The bracket had to be made in a very precise way using the mill and the dimesions had to be perfect. I learned that the mill is only meant to take off a small amount of metal at a time. This prevents the end mill from breaking. So, in order to make that slot, I had to do multiple passes with the mill. However, creating the tape axle was probably the most frustrating part of this project. The tape axle had to be a certain length, certain radius, and have a hole drilled through the center. To get that certain length, I faced off the ends of the axle multiple times. Contouring the curved edge of the axle was the hardest part because the vice that was holding the axle was preventing me from doing the whole edge. This required me to have to basically lathe one side, flip it around and contour it again. Drilling the hole was easy because it was only one step. Unfortunately, the CNC machine at UCLA was broken when I needed it, so I wasnt able to CNC the retention plate. With all my completed parts, I was able to use superglue to hold everything together.
- Improvements: One improvement would be to use a higher precsion amount when 3D printing my tape cutter. I guess I used a low accuracy when 3D printing it, so the cutter part of it was very dull and wasn't able to cut the tape very well. Another recommendation would be to be more precise when lathing my axle. Because I had to contour each side on sepatate occassion, I ended up with a step in my axle. This basically means my axle isn't perfectly smooth and while it doesn't affect the functionality, it definetly made me a little sad to know it wasnt perfect.
- Takeaways: This project taught me basic manufacturing techniques such as 3D printing, milling, lathing, and CNC. Although the CNC machine was not working, learning how to use the CAM interface was a very useful learning experience. Being able to use the machines was really exciting and I'm very interested in using these machines in the future to make more components of my engineering projects.

